When it comes to comfort food that feels both rustic and indulgent, sourdough bread bowls take the crown. Imagine a crusty, golden bread bowl filled to the brim with steaming, creamy soup or a rich, cheesy dip. It’s not just food; it’s an experience. And yes, you can absolutely make this masterpiece at home. But mastering sourdough bread bowls is about more than just baking bread—it’s about understanding what makes sourdough special, where it all began, and how the magic ingredients come together to create something extraordinary. Stay with me, and I’ll guide you through every step, from history lessons to ingredient secrets!
What is a Sourdough Bread Bowl?
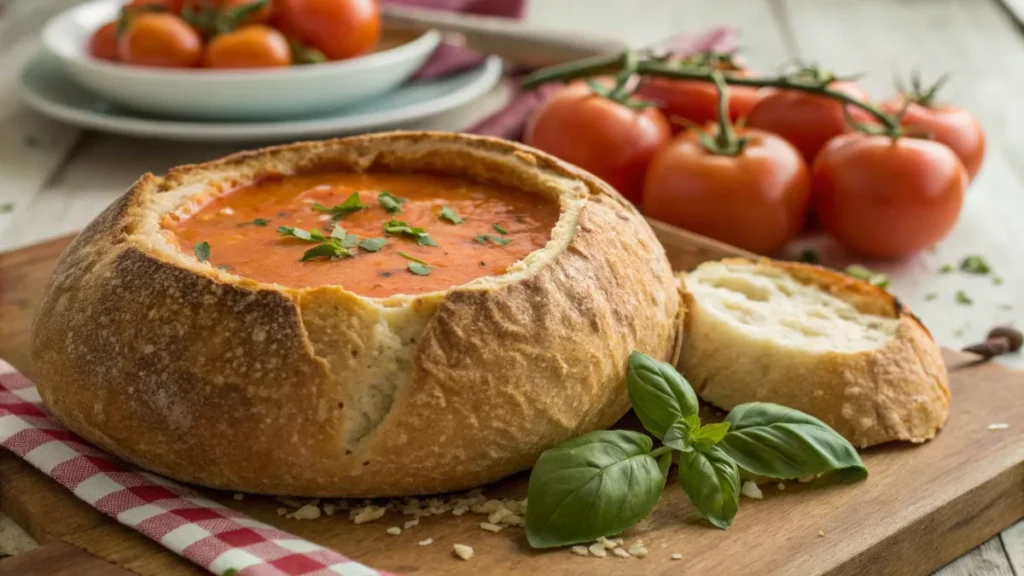
If you’re new to the concept, a sourdough bread bowl is exactly what it sounds like—a loaf of sourdough bread hollowed out in the middle to make room for delicious fillings. Sound cool? That’s because it is. These edible vessels marry rustic flavors with practicality. They’re perfect for holding everything from hearty stews to cold, creamy dips.
What really sets a sourdough bread bowl apart, though, is its texture. The crust is rugged and crunchy—sturdy enough to corral its contents—while the inside is fluffy and slightly tangy. Plus, unlike regular bowls, these bowls actually get tastier as they soak up whatever you’ve put inside. Bread absorbing soup? That’s a win-win.
And they’re not just about convenience. People love bread bowls because of their aesthetic appeal. Hosting a dinner party? A table adorned with these golden beauties will fetch plenty of ‘oohs’ and ‘aahs.’
“A sourdough bread bowl isn’t just a serving dish—it’s an edible bit of joy packed with flavor and full of character!”
The History of Sourdough Bread Bowls
We’ve been obsessed with bread for…well, forever. But sourdough? That’s a league of its own. It’s believed that sourdough originally came into existence thousands of years ago in Egypt. Yeah, we’re talking about bread history that predates the pyramids. It was a happy accident—a forgotten mixture of flour and water caught wild yeast from the air, and voilà, sourdough was born.
Sourdough bread bowls, on the other hand, have murkier origins. While it isn’t clear who first thought of hollowing out a loaf for soup duty, the idea probably rose out of practicality. Think medieval times, when dishes weren’t exactly made of porcelain. Bread was often used as a plate substitute. Fast forward to modern times, and the humble bread bowl has cemented its place as the ultimate soup companion.
Why sourdough? Well, sourdough brings a depth of flavor that few other types of bread can match. That tangy, slightly fermented taste pairs beautifully with savory soups and stews, making it the perfect candidate for a bread bowl. And don’t forget—it’s sturdy. The tough crust ensures your bowl won’t fall apart mid-meal.
“Sourdough isn’t just bread—it’s a piece of history, a scientific marvel, and a tons-of-flavor-packed experience all rolled into one.”
Essential Ingredients for Sourdough Bread Bowls
Now, here’s where the wizardry begins. Sourdough bread bowls might seem fancy, but they’re built from a surprisingly short list of ingredients. However, the quality of the ingredients—and the techniques you’ll use—make all the difference.
1. Flour – The Foundation of Great Bread
The first and most important ingredient is flour. But, not just any flour will do. For sourdough, bread flour is your best bet. It’s higher in protein than all-purpose flour, which gives your bread the structure and chewiness needed for a successful bread bowl.
Look for unbleached bread flour if possible—it’s less processed and will work better with your starter. Want to experiment? Try blending bread flour with whole wheat or rye. These bring earthy, complex flavors to the table.
2. Your Sourdough Starter – The Star of the Show
This is the heart and soul of sourdough bread. A sourdough starter is a living, bubbling mixture of flour and water teeming with wild yeast and lactobacilli. It’s what gives sourdough its signature tang and also acts as the leavening agent (yep, no store-bought yeast!).
“Where do I get one?” you ask. These days, many artisan bakers share their starters, or you can create your own from scratch—it just takes a bit of patience. Feed your starter regularly to keep it active. Think of it as a baking pet; it’s alive, and it needs care to stay healthy!
3. Water – Simplicity Wins
You might not think much about water, but it’s another unsung hero. The right amount of water is critical to achieving the proper dough hydration. Too little, and your dough will be dry—too much, and it’ll be a sticky nightmare. Always use clean, filtered water to avoid chlorine, which can kill the wild yeast in your starter.
4. Salt – The Flavor Enhancer
Salt isn’t just for taste here (although it definitely amps up the flavor). It also strengthens the gluten structure, giving your dough the ability to hold its shape. Use fine sea salt for a smoother blend into your dough.
5. Optional Extras – Getting Creative
While the base ingredients are few and humble, you can add extras for unique flavors. Herbs, garlic, and even cheeses can be incorporated into the dough for delicious variations. You’ll find that these small tweaks can elevate your bread bowls from ordinary to extraordinary.
Now, are you getting psyched to start mixing flour and water together? Stick around, because in the next part of the guide, we’ll dig into creating the dough, proofing, and eventually shaping it into a bread bowl worthy of admiration—and soup!
Step 1 – Prepare Your Sourdough Starter
Start by checking on your sourdough starter. Is it bubbly, active, and ready to go? If it’s been a while since you last fed it, give it a boost by feeding it with equal parts flour and water. Within a few hours, it should double in size and smell slightly tangy. Pro tip? Always use your starter at its peak activity for the best results.
“Think of your sourdough starter as the head chef in your bread-making crew—it sets the tone for the entire process!”
Step 2 – Make the Dough
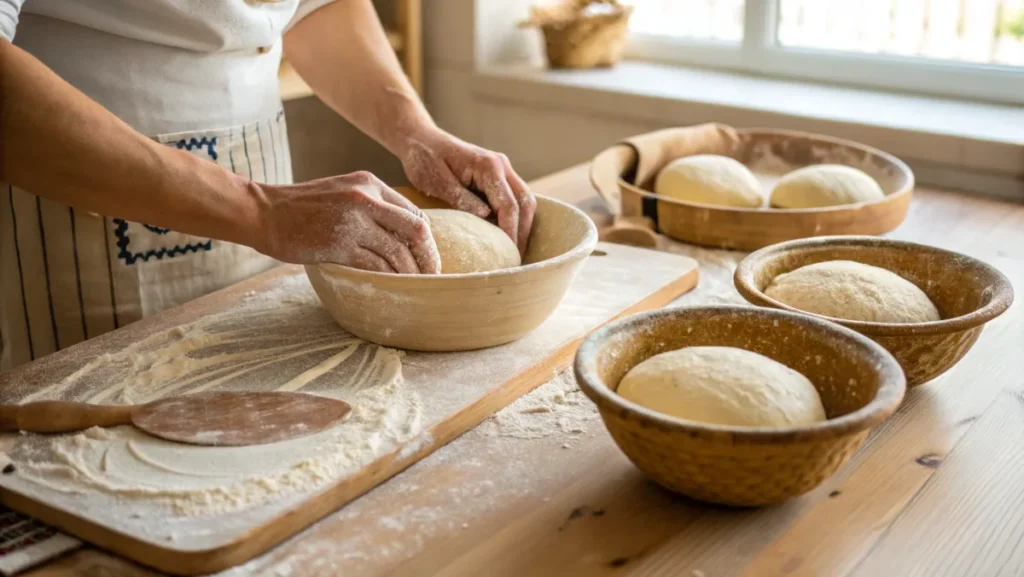
Now for the real fun. Combine your active starter, flour, water, and salt in a large bowl. Use your hands to mix until it forms a shaggy dough. It might look messy at first, but don’t worry, it’ll come together beautifully. Cover the bowl with a damp kitchen towel and leave it for 30 minutes to rest (this step is called autolyse—fancy, right?).
After the rest, give the dough a few rounds of folding and kneading. Stretch one edge of the dough, fold it over, rotate the bowl, and repeat. Do this about four times, then cover it again. Repeat this folding process every 30 minutes for about 2-3 hours. Each fold strengthens the gluten, giving your bread its signature chewy texture.
Step 3 – Shape the Dough

Once your dough has been folded to perfection, it’s time to shape it into bread bowls. Divide the dough into individual portions, depending on how many bowls you want to make. For medium-sized bread bowls, aim for about 200-250 grams per portion. Shape each piece into a round by tucking the sides under to form a tight ball.
Place your dough rounds on a parchment-lined baking sheet or proofing baskets (if you have them). Then, cover them with a clean towel and leave them to rise for 1-2 hours until they puff up slightly.
“Shaping the dough feels like sculpting—except your masterpiece becomes way more delicious!”
Baking the Perfect Sourdough Bread Bowl
Once your dough has risen and is ready to bake, it’s crunch time—literally. Here are some tips and tricks to ensure your sourdough bread bowls bake up golden, crispy, and irresistible.
Preheating is Key
Before you even think about popping your dough into the oven, preheat it to around 450°F (232°C). If you have a Dutch oven or pizza stone, use it! These help create that extra burst of heat needed for a perfectly crusty exterior.
Steam for the Win
Steam is your bread’s best friend. During the first few minutes of baking, steam helps the dough expand and develop that crackly crust we all love. You can achieve this by placing a pan of hot water in the bottom of your oven or by spritzing the inside with water just as you load the dough in.
Baking Time
Bake the bread bowls for about 25-30 minutes or until the crust is a deep golden brown. Tap the bottom of the loaf—it should sound hollow. If you’re unsure, use a thermometer; the internal temperature of fully baked bread should be around 200°F (93°C).
Allow the bread bowls to cool slightly before cutting into them. This step is crucial—cutting too early can cause the inside to become gummy.
Creative Ways to Use Sourdough Bread Bowls
Now that your bread bowls are ready, what’s next? The possibilities are endless! Sourdough bread bowls aren’t just bowls; they’re edible canvases for all your culinary creations.
Soup’s Best Friend

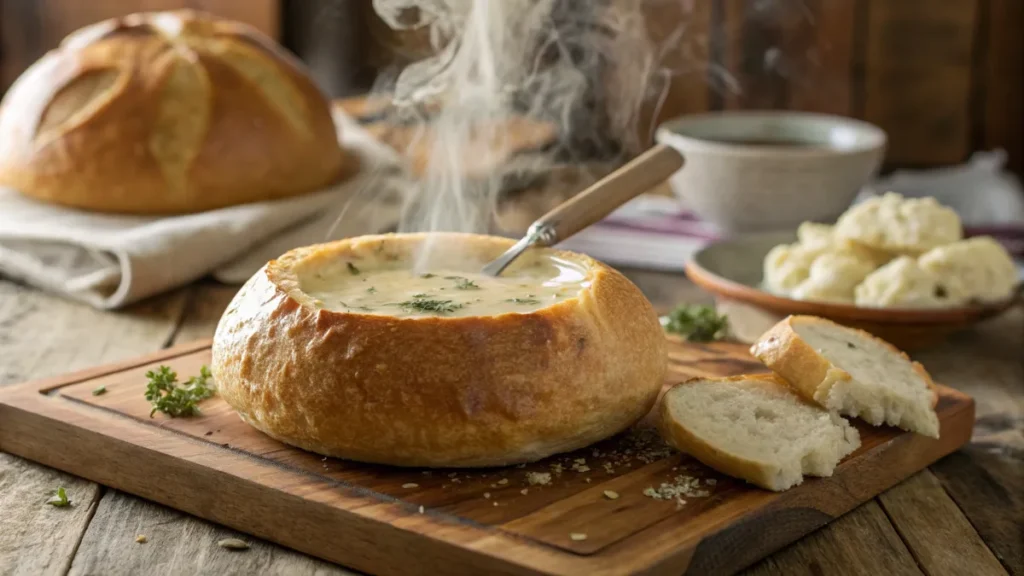
The most classic use for bread bowls is, of course, to hold soup. Creamy clam chowder, cheesy broccoli soup, or even a hearty chili—it all tastes better when served in a bread bowl.
Beyond Soup
Feeling adventurous? Try filling your bread bowl with pasta, salads, or even scrambled eggs for a unique breakfast twist. For dessert lovers, why not turn it into an indulgent bread pudding bowl with caramel sauce?
“A sourdough bread bowl is like a blank page—just waiting for your creative touch to fill it with flavor.”
Troubleshooting Common Problems
Even the best bakers face a few hiccups. Don’t throw in the towel if something goes wrong. Here are some common issues and how to solve them.
Problem 1 – Bread Bowl Collapse
If your bread bowl collapses when you add the filling, the dough might have been under-proofed or not shaped tightly enough. Next time, double-check the proofing time and focus on creating a strong, tight shape during the shaping step.
Problem 2 – Soggy or Weak Crust
No one wants a soggy bread bowl! This usually happens when the filling is too hot or too watery. Allow soups or sauces to cool slightly before serving, and go easy on the liquids.
Problem 3 – Flat or Dense Bread
Flat bread can be a result of weak gluten structure. Make sure to properly knead and fold the dough during preparation, as this builds the necessary strength.
Storing and Reusing Sourdough Bread Bowls
If you’ve got extra bread bowls or leftovers, don’t waste them. You can store unfilled bread bowls in a paper bag or loosely wrapped in cloth to keep the crust intact. For longer storage, freeze them in an airtight container and thaw as needed.
Leftover bread bowls can be repurposed amazingly. Cube them up and toast them for croutons, blend them into breadcrumbs, or use chunks for dipping in your favorite spreads.
Final Thoughts on Mastering Sourdough Bread Bowls
There’s something undeniably satisfying about creating sourdough bread bowls from scratch. From nurturing your starter to baking golden-brown bowls, the process is as rewarding as the final product. Whether you use them to serve soups, stews, or something entirely unconventional, sourdough bread bowls bring a special touch to your table.

